Building your own portable hard drive
(This is the second in a series of posts covering information taken from my latest book, Upgrading and Fixing Computers Do-It-Yourself For Dummies.)
 What do you do with your old computer once you’ve bought your new one? With a little creativity, you can salvage a lot of it. That makes you a recycler in the truest sense of the word, giving new life to your old computer’s parts.
For example, I turned my old computer’s hard drive into a portable hard drive for about $20. Portable hard drives work very well for making backups and system images.
Follow these steps to create a portable hard drive from any hard drive: one from your old computer, a new hard drive, or a drive that’s just gathering dust in your closet:
- Look to see whether your old hard drive uses the smaller SATA connectors (below, left) or the wider IDE (below, right) connectors, so you can buy the right type of case. Don’t know what type your of drive your computer has? Remove your computer’s case and look at the drive’s connectors, shown below. If you’re using a laptop’s drive, buy a case meant for a 2.5-inch drive; desktop drives need cases for 3.5-inch drives.

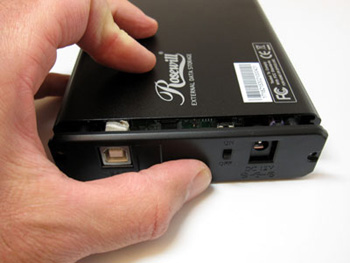
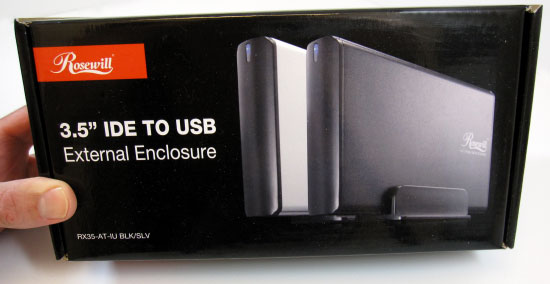
- Buy either a SATA or an IDE portable hard drive enclosure that fits your drive’s size, either desktop (3.5″) or laptop (2.5″). My older computer used IDE drives, as do most older desktop computers, so I bought a Rosewill enclosure (below) from Newegg for $19.99. More expensive enclosures come with more padding, making them safer for travel. Cooling fans also increase the cost, but help the drive to last longer, especially if it’s meant to run constantly.
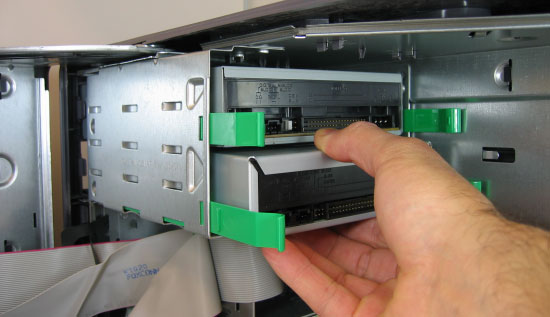
- Remove your old computer’s hard drive (below); it’s held in place by two cables and either two or four screws. Then slide it out (below) from the front of your opened computer.
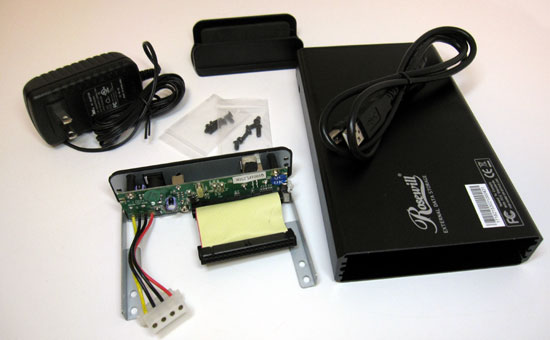
- Take apart the portable hard drive enclosure from its box (below). The enclosure consists of two main parts: A long rectangular box, and a detachable connector on one end. It will also come with a power supply, and a USB cable that plugs between the box and your computer’s USB port. Plus, you’ll find a few screws for holding the drive in place, and putting the enclosure together.
- Connect your old drive to the enclosure’s connectors, fastening both its power cable and its data cable (below). The two cables only fit into their proper spots, and they only fit one way – the right way.
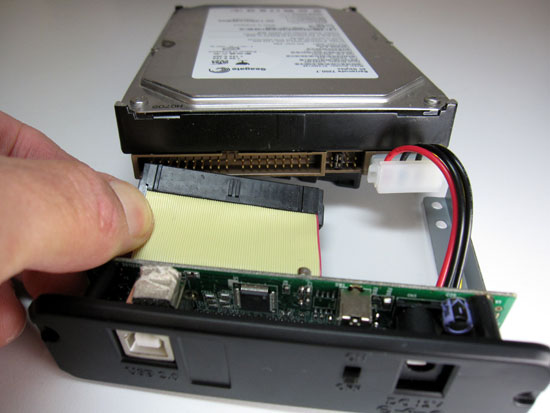
- Screw the drive into place on the connector’s rails (below). Then slide the drive into the aluminum box, and screw the enclosure together with the bundled screws.
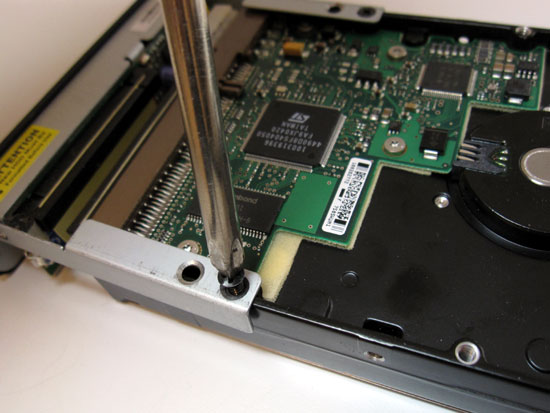
- Plug your new portable hard drive’s adapter into the wall, plug the power adapter into the drive, then plug the portable drive’s USB cable into your computer’s USB port. Finally, turn your drive on with the enclosure’s On switch. The drive will show up as a new letter and drive icon in your Start menu’s Computer window, ready for action. It will even have all your old computer’s files still on it, ready to be scavenged should you need them.
Want to delete everything from your old drive and start over with an empty hard drive? Then right-click its icon and choose Format, and click the Start button.
______________________________________________________________________________________________________________
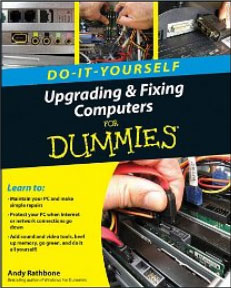 My latest book, Upgrading and Fixing Computers Do-It-Yourself For Dummies, features easy step-by-step guides with photos that help you upgrade and maintain your computer, laptop, or netbook.
The book is available now on Amazon.
Posted: April 19th, 2010 under Books, Hardware, Upgrading and Fixing Computers Do-It-Yourself For Dummies.
Tags: building a portable hard drive, do it yourself, external hard drive, portable hard drive, recycling old PC
Comments
Comment from bobby
Time June 12, 2011 at 8:23 am
I just did this with a 250GB I acquired from an old XP pc—and IT WORKS. Yippee! I have several old pcs that could use a backup.
Thanks, Andy!


Comment from hubert blankenship
Time April 27, 2010 at 5:05 pm
I wanted to know how to salvage my hard disk from an xp pc that hadbeen hit by lighting. had hard disk checked was found to begood you had the fix on your site
thanks hcb